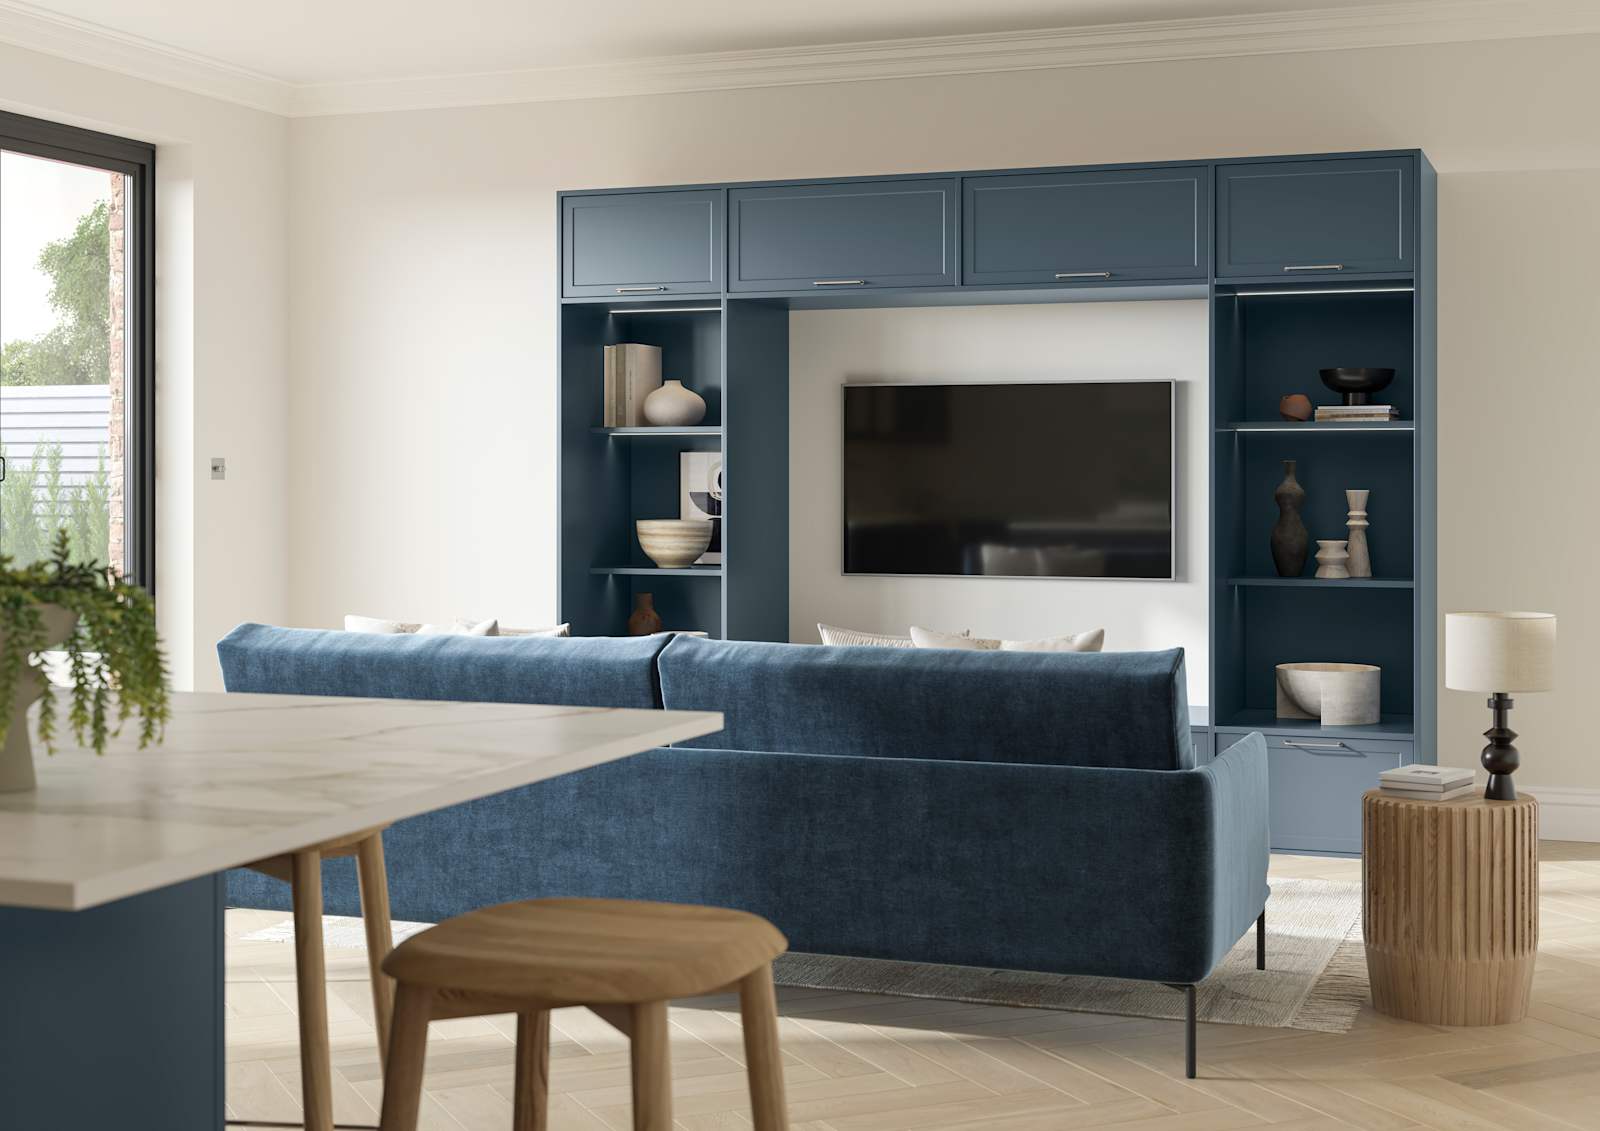

A dramatic solution that maximises visual impact and storage.
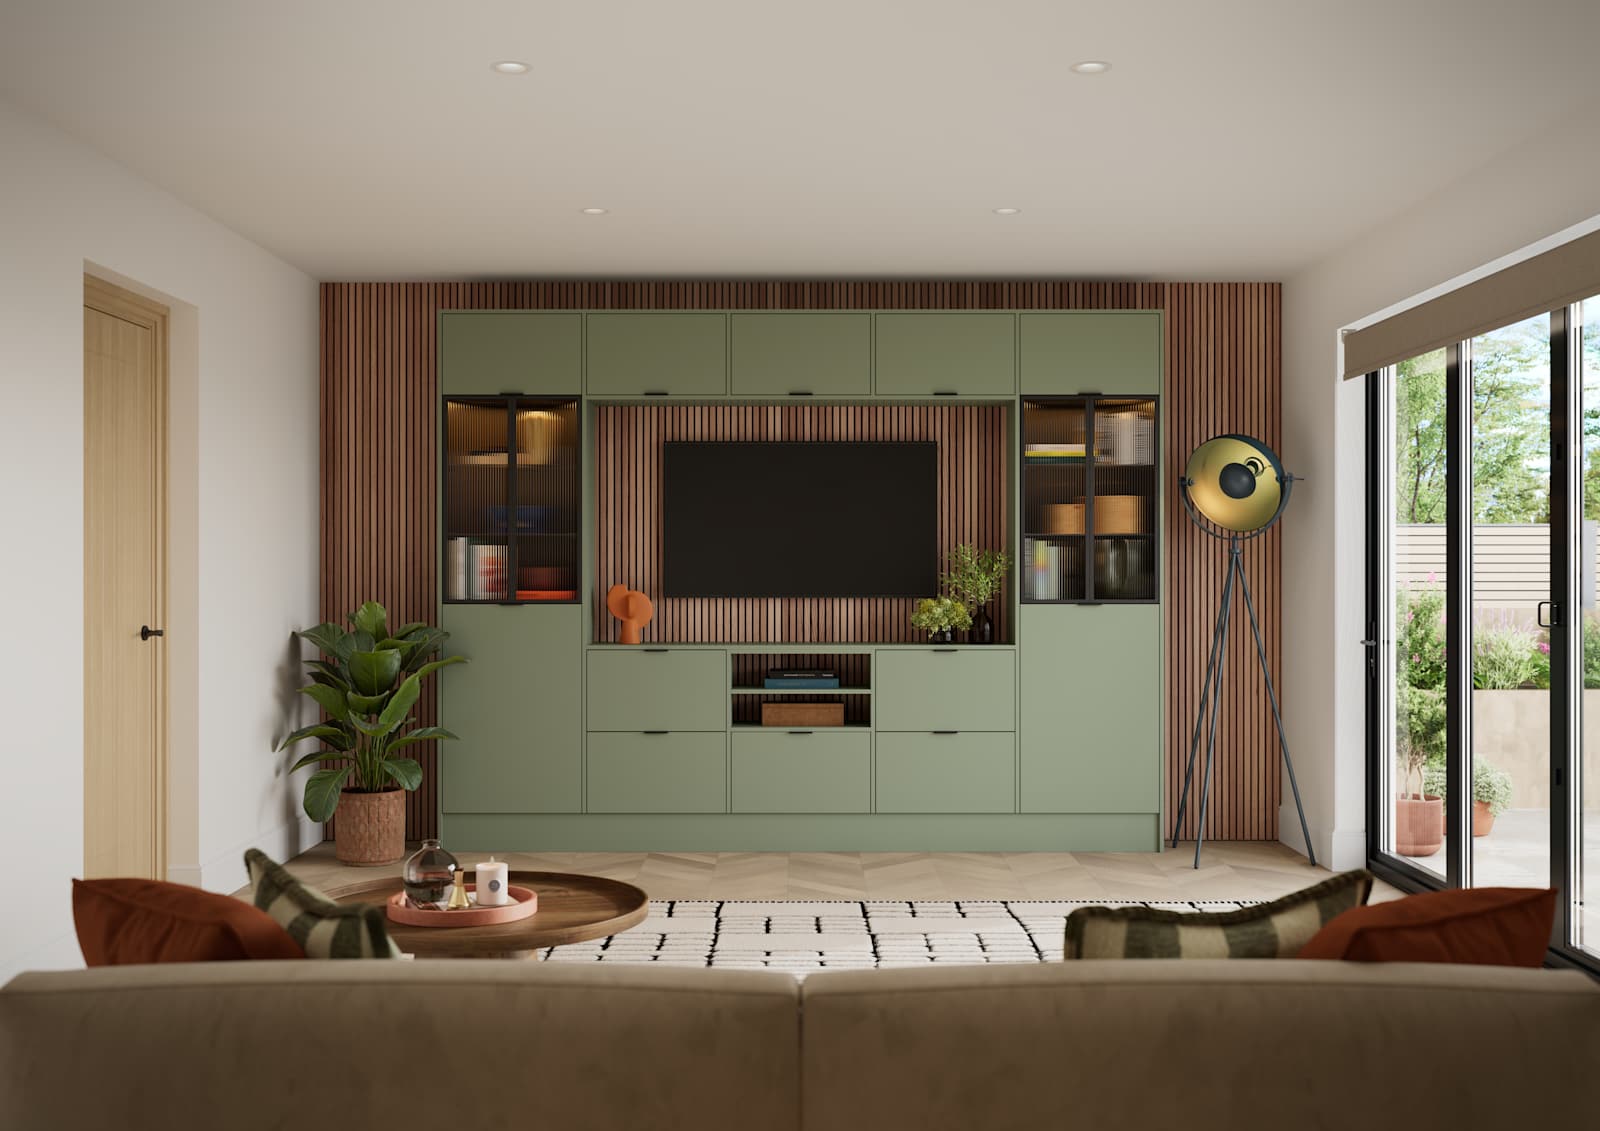
A well-designed media wall can completely transform a living space. More than simply a place to mount a television, a media wall combines entertainment, storage, lighting and architectural design into one cohesive feature.
Whether you're planning a contemporary living room makeover or creating an open plan space for your family, a thoughtfully designed media wall can add visual impact, improve organisation and create a focal point that feels purpose-built for your home.
In this guide, we'll walk through everything you need to know about designing a media wall, from planning the layout and selecting materials to integrating lighting and storage.


The most successful media walls begin long before construction starts. Careful planning ensures your finished design looks beautiful, functions effortlessly and feels perfectly suited to your home.
Media walls are part of a wider movement towards integrated, multifunctional living spaces. Explore our 2026/27 Trends Guide for inspiration on bespoke storage, thoughtful design and the trends shaping modern homes.
A media wall is a purpose-built feature wall that integrates a television, storage solutions and often a fireplace into a single design. Before considering finishes or layouts, establish exactly what you want your media wall to achieve.
Ask yourself:
Many homeowners want a media wall that delivers both functionality and aesthetics. The key is finding the right balance between practical requirements and visual impact.
It's also important to decide early whether this will be a DIY project or professionally installed. This decision will influence everything from construction methods and materials to electrical planning and overall budget.


Understanding your space is essential.
Start by measuring:
The media wall should feel proportionate to the room. A floor-to-ceiling installation can look stunning in larger spaces but may overwhelm a smaller room.
If your room features a chimney breast, consider how this natural architectural feature could be incorporated into the design. Alcoves on either side provide excellent opportunities for bespoke shelving and cabinetry.
You should also assess:
Planning these practical elements early prevents costly alterations later.
Media wall costs vary significantly depending on size, materials and complexity. When setting your budget, consider:
| Element | Cost Considerations |
| Structural build | Studwork, framework, plasterboard |
| Finishes | Paint, timber, stone, porcelain |
| TV and AV equipment | Television, speakers, streaming devices |
| Fireplace | Electric, gas or bioethanol |
| Lighting | LED strips, shelf lighting, downlights |
| Storage | Bespoke cabinetry and shelving |
| Installation | Joinery, plastering and electrical work |
One of the advantages of a media wall is the flexibility it gives you to shape the layout around your room, your style and the way you live. The right configuration will depend on your room's proportions and how you intend to use the space day to day.
Once you've established the overall layout, it's time to focus on the individual elements that will bring your media wall to life. Careful planning at this stage ensures every component works together to create a seamless and functional design.
The television is often the centrepiece of a media wall, making placement critical. Audiovisual industry guidance recommends viewing distance should be approximately 1.5 to 2.5 times the vertical screen size. The centre of the screen should ideally sit at eye level when seated, typically between 100cm and 110cm from the floor.
One of the most common mistakes is mounting the television too high, which can create neck strain and reduce viewing comfort.
For the cleanest finish, consider a recessed or flush-mounted installation that allows the screen to sit seamlessly within the media wall structure.
A fireplace beneath a television remains one of the most popular media wall features. It introduces warmth, atmosphere and a strong focal point.
The three main options are:
Regardless of fireplace type, heat management is essential. Always follow manufacturer guidance regarding minimum clearance distances between the fireplace and television.
Storage is often what elevates a media wall from a decorative feature to a genuinely useful addition to the home. Combining open and closed storage delivers the greatest flexibility.
Open shelving works well for:
Closed cabinetry is ideal for concealing:
In homes with chimney breast alcoves, bespoke cabinetry can create a built-in appearance that feels original to the property.
Make sure there’s enough ventilation for AV equipment, especially if it’s housed inside enclosed cabinets.
Materials largely define the character of the finished media wall.
Popular options include:
For added visual interest, consider incorporating:
Matt finishes are often preferable around television screens as they minimise light reflection and enhance viewing comfort.
Lighting is frequently overlooked but has a profound impact on the finished result. A layered lighting approach creates both functionality and atmosphere.
Warm white lighting between 2700K and 3000K generally creates the most comfortable living room ambience.
Nothing undermines a media wall more quickly than visible cables. Plan cable routing from the outset to ensure wires, sockets and AV equipment remain discreetly hidden, preserving the clean, seamless finish that makes a media wall feel truly integrated into the room.
Best practice includes:
If you're incorporating surround sound or multi-room audio systems, this should also be planned during the initial design phase.
Before construction begins, it's important to ensure every detail of the design has been carefully considered, from structural requirements and electrical planning to storage, lighting and AV integration.
While some homeowners choose to tackle elements of a media wall themselves, a professionally designed solution can help avoid costly mistakes and ensure the finished result is both beautiful and practical.
If you're looking for expert guidance tailored to your home, book a design consultation with one of Magnet's expert designers. They'll take the time to understand your space, style and practical requirements, helping you bring your media wall vision closer with a solution that's crafted around the way you live.
Most media walls are built using either:
Before construction begins, it's worth investing time in thorough planning. Creating detailed scaled drawings and confirming all measurements helps ensure the finished media wall fits the space perfectly and accommodates every feature as intended. This is also the stage to finalise the specifications of any appliances, fireplaces or AV equipment that will be integrated into the design, as these can influence the overall dimensions and construction requirements.
The installation sequence should typically follow:
Testing electrical systems and cable routes before the wall is fully closed can save significant time and expense later.
Once complete, styling is what brings the media wall to life. Aim for balance rather than overcrowding and display a carefully curated selection of:
Consider how the media wall connects with the wider room scheme. Coordinating colours, materials and textures throughout the space creates a more cohesive interior. For a cinematic atmosphere, darker wall colours behind the television often work exceptionally well, helping the screen visually recede when not in use.
For more inspiration on choosing a palette that complements your cabinetry, finishes and wider home, explore our kitchen colours guide.
A well-designed media wall can transform the way a space looks, feels and functions, combining entertainment, storage and design into one seamless feature. Whether you're looking for a sleek contemporary focal point or a bespoke solution tailored to your home's architecture, the right design can add both practicality and visual impact.
Explore our media wall range or book a free design appointment to discuss your project with one of our expert designers.
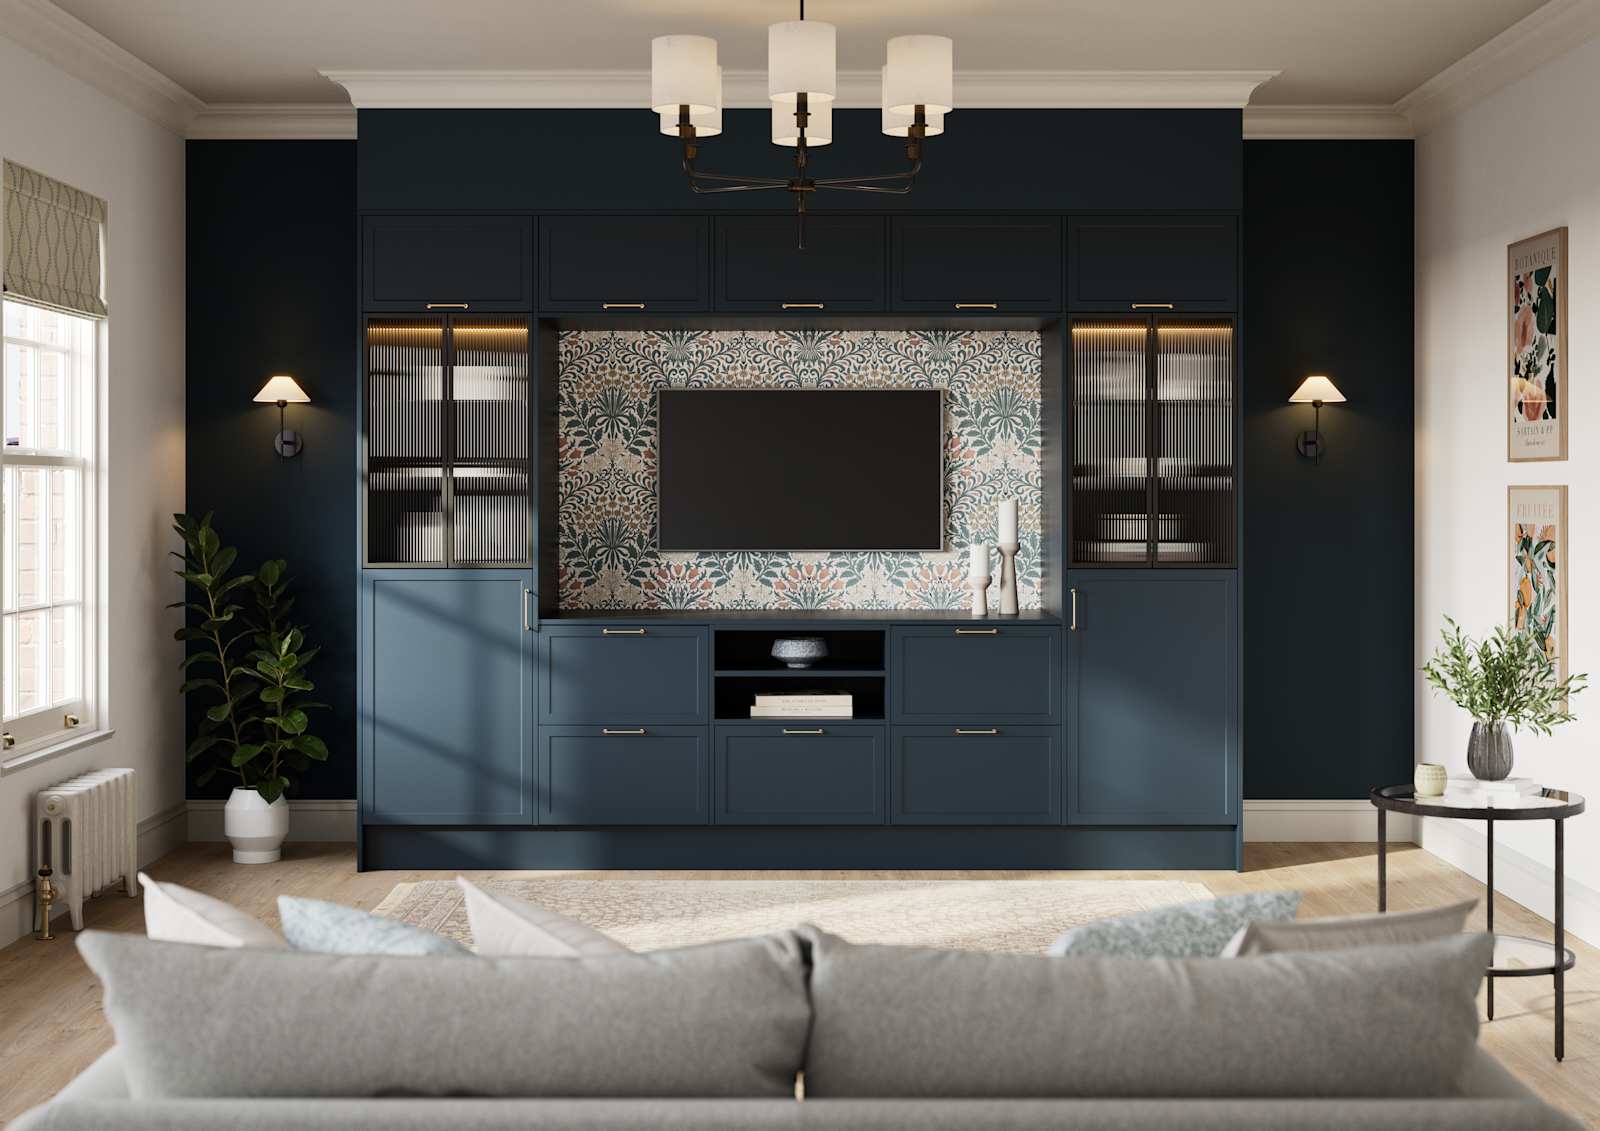
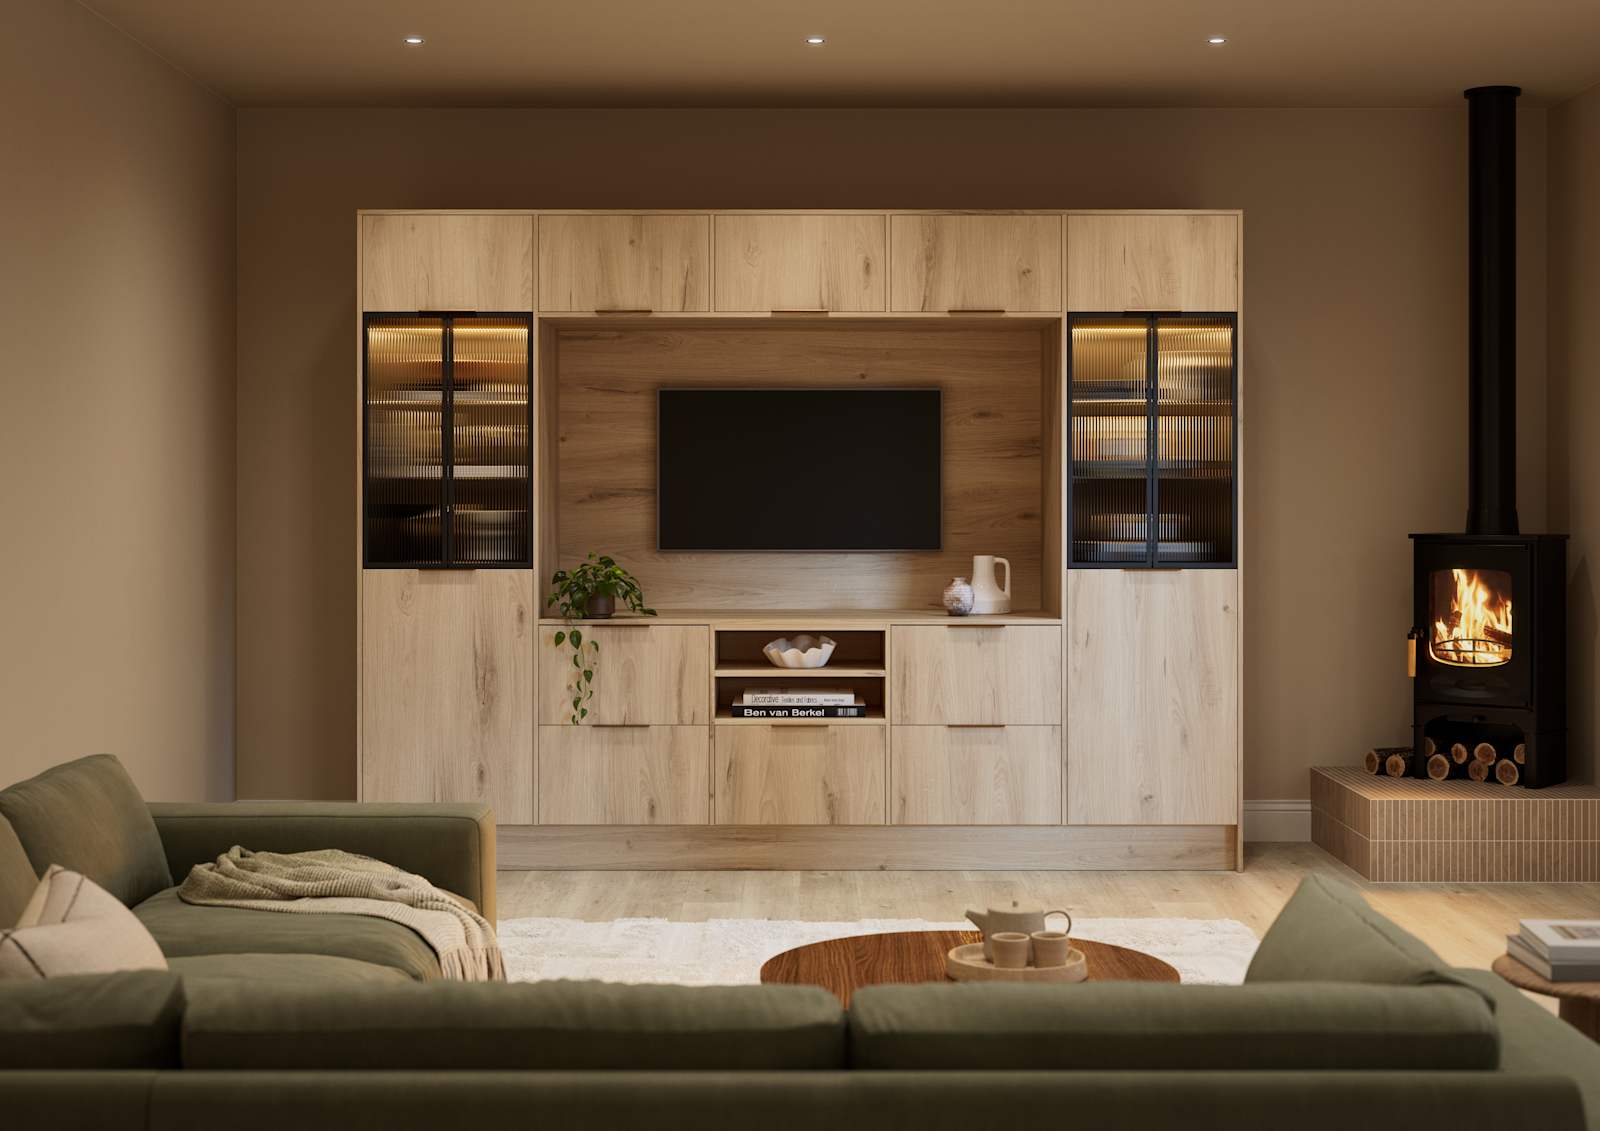
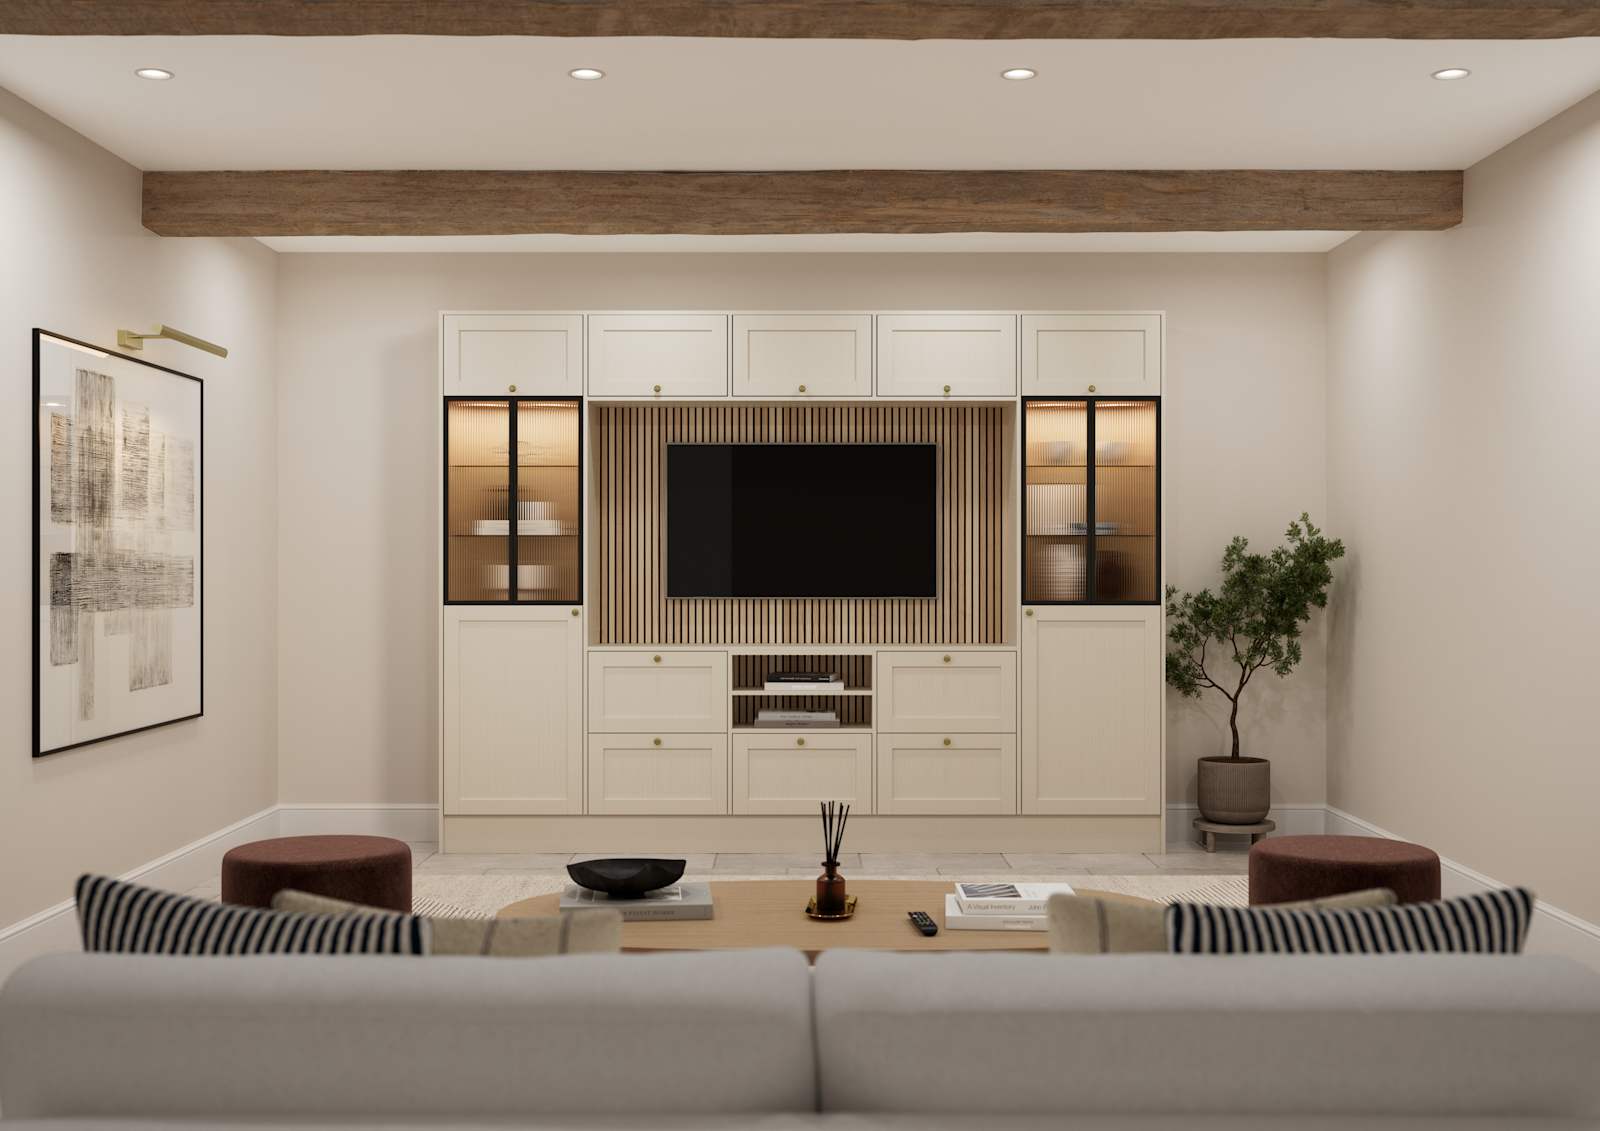
The best media walls are designed with cable management in mind from the outset. Hidden channels, recessed compartments and integrated trunking allow power cables, HDMI leads and speaker wiring to be concealed behind the wall, creating a clean, clutter-free finish. Planning cable routes before installation also makes it easier to access connections for future upgrades or maintenance.
Yes. Media walls continue to be a popular feature in modern homes, particularly open-plan spaces. Current designs focus on integrated storage, subtle lighting and premium finishes that help the media wall feel like part of the wider interior rather than a standalone feature.
A floating media wall features wall-mounted units with visible floor space underneath, creating a sleek, contemporary look. A modular media wall is made up of separate components that can be customised and reconfigured to suit different layouts and storage needs.
While designs vary, most media walls include a combination of the following elements:
The exact combination will depend on how you use the space and the overall aesthetic you're looking to achieve.
Reducing noise in an open-plan space starts with thoughtful design. Soft furnishings such as rugs, curtains and upholstered seating help absorb sound and reduce echoes. Acoustic wall panels can be incorporated into or around the media wall, while cabinetry and shelving filled with books or decorative accessories can also help diffuse sound.
If you're including speakers, positioning them carefully and using soundbars with directional audio can improve sound quality without increasing volume throughout the room. This creates a more comfortable environment for cooking, entertaining and relaxing.